
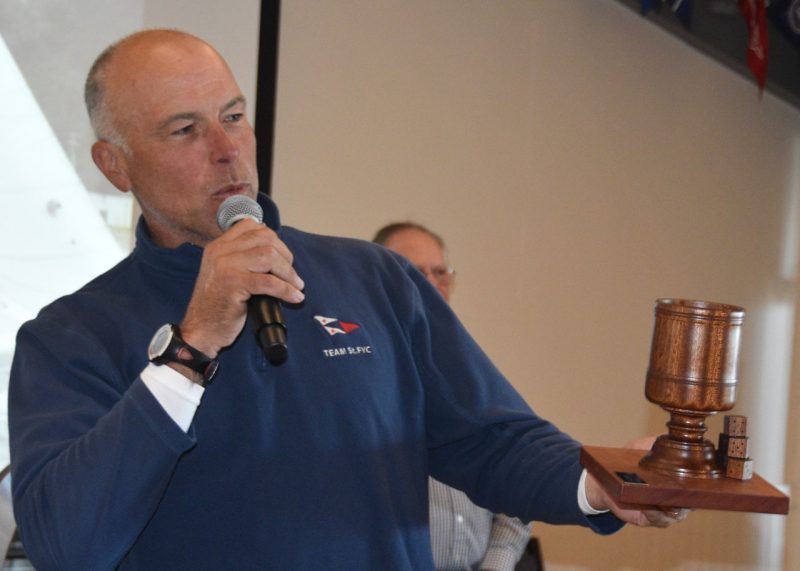
Lipton Cup Serves Up Chills and Spills
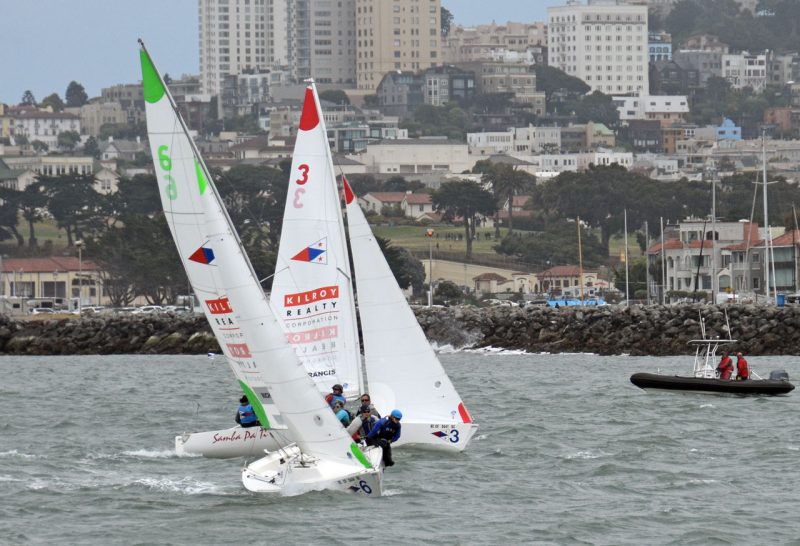
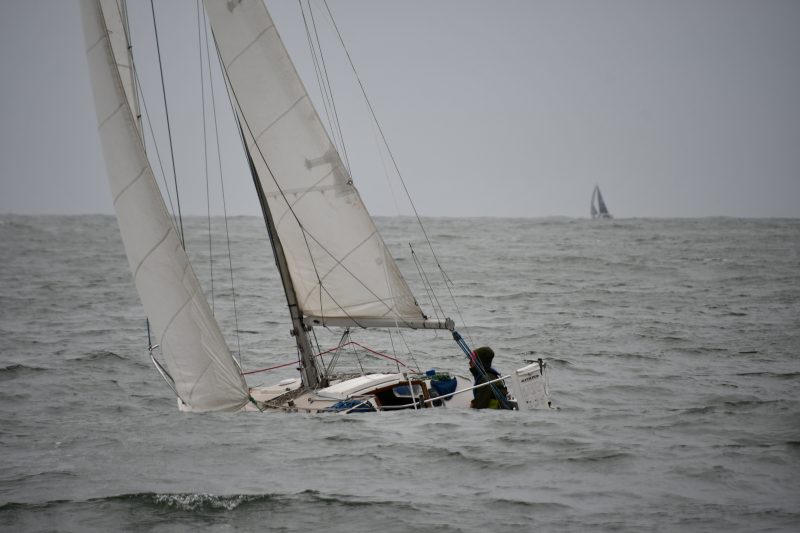
Ten yacht clubs raced 10 matched J/22s in a three-day challenge to win some heavy silver Friday through Saturday. Friday’s windy race on heavy ebb chop took the four-person teams, with women at the helm, from St. Francis Yacht Club, which provided the boats, to event co-host Richmond Yacht Club.
At least three spinnakers blew up during the first run from Blackaller past Point Blunt, off Angel Island’s windswept southern point, where the washing machine was on spin cycle. RYC’s was the first kite to go, parting at the foot, only about five minutes after the team hoisted it.
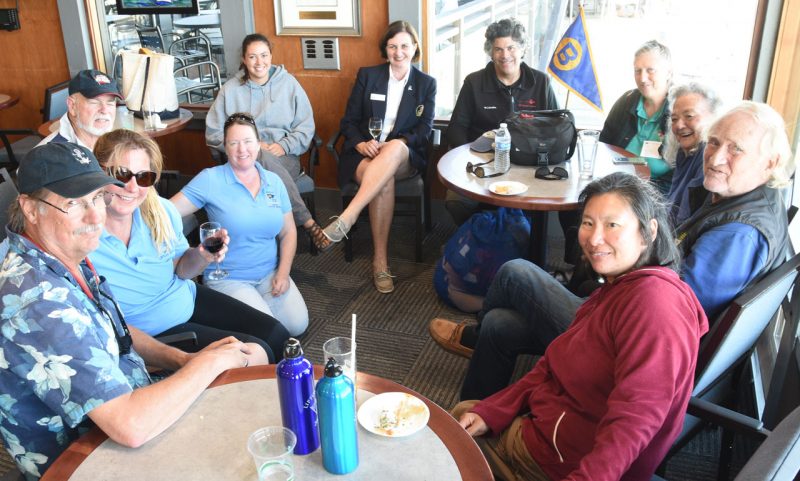
The course this year included an extra windward leg, from YRA 8 (aka R4) to Little Harding. The race finished off RYC’s race committee boat, Pelican, on Southampton Shoal. The soaking-wet sailors lined up in RYC’s turning basin and went ashore to share their sea stories and receive the Admiral’s Cup awards.
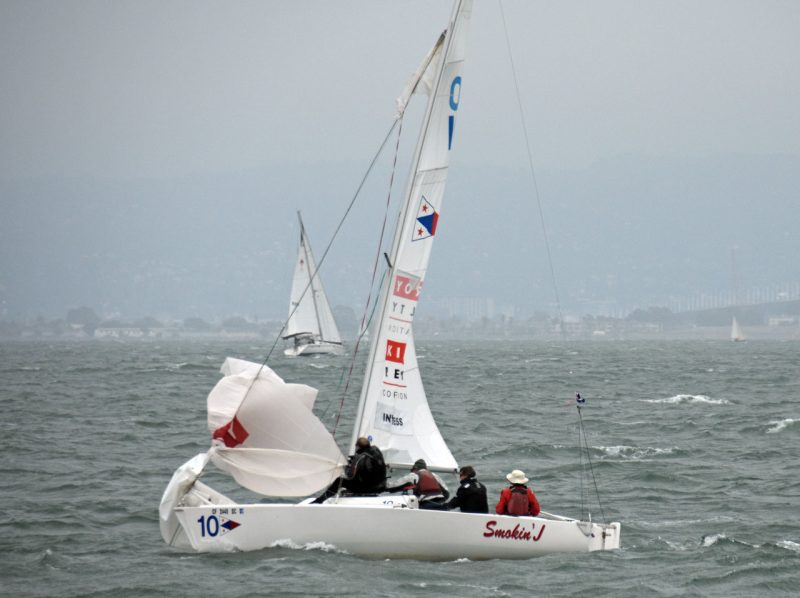
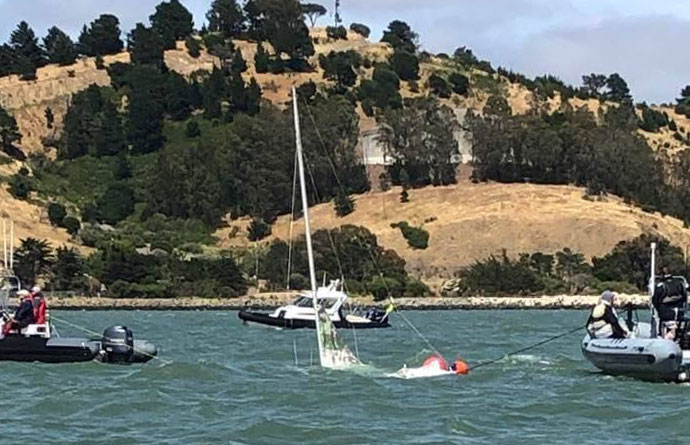
Saturday’s buoy races were held in nearby Keller Cove. Although conditions were mellower than on Friday, the Sequoia boat took a knockdown, the mast dipped into the Bay, the companionway shipped water, and the boat sank. Russ Silvestri swam a line to the sunken boat. Parker Diving Service put float bags under her and towed her to RYC. They got her to the hoist and were able to lift her just a bit so the gunwales were above water level. Then they got out a large pump that RYC had recently purchased, pumped her out, and refloated her. After a night spent with a dehumidifier running, the boat was out racing again the next day.
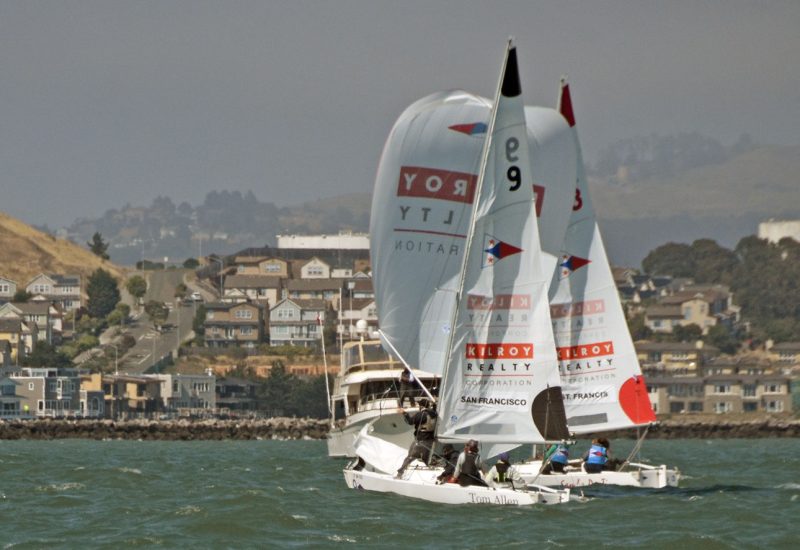
On Sunday, the teams raced back across the Bay to StFYC for the Larry Knight Trophy. This time, the skippers had to be age 60+, and they were mercifully given the shorter, more direct course homeward. StFYC hosted the awards ceremony afterward.
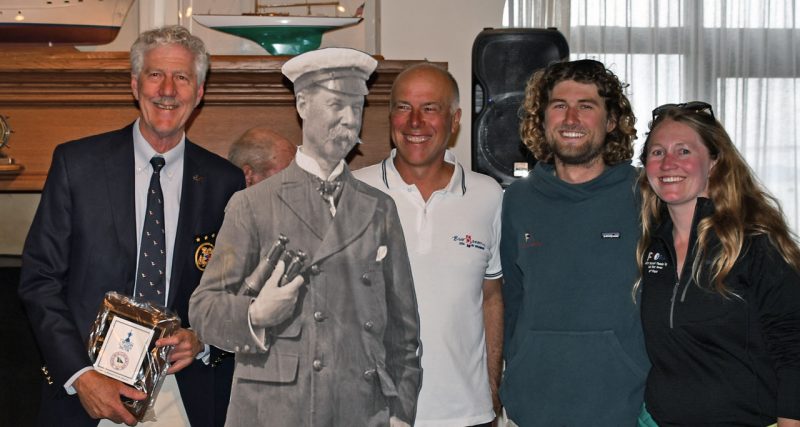
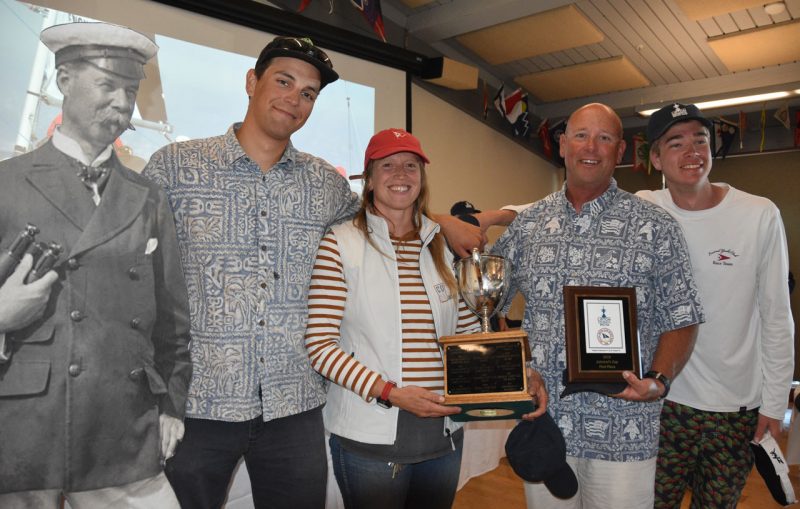
StFYC was launched at the start and never looked back. They covered the whole fleet from RYC up Raccoon Strait to the windward mark, Blackaller Buoy, to cruise down to the finish. But RYC had won Saturday’s Sir Thomas Lipton Challenge Trophy in six races, and they took the overall prize, the Lipton Pacific Coast Perpetual Challenge Trophy.
Caption Contest(!)
Here’s your June Caption Contest(!)
Please comment below, or email us here.
KKMI Cures the Summertime Blues

The Bracket Racket, Part 2
On Friday, the Resourceful Sailor found that his outboard-motor bracket on his 1985 Pacific Seacraft Flicka 20 Sampaguita was making an unsual noise. He discovered that the previous installation had been a bit rough, and decided to replace the bracket and strengthen the mount.
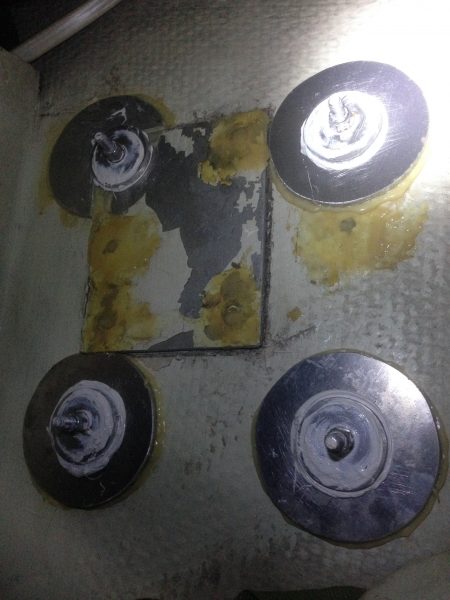
I decided the right approach for me was to thoroughly clean out the holes and seal them up with thickened epoxy. Since the new outboard bracket I was installing was the same as the previous one, the holes would be in the same places. I re-drilled the holes through the epoxy, offering higher strength and better protection against potential water intrusion.
When considering a proper backing plate, there were some challenges. There was a small plate from a previous installation solidly epoxied in place. In 1985, when lighter two-stroke outboards were the norm, this might have been a satisfactory footprint. A more modern, 105 pound, four-stroke Yamaha would need more substantial support. The small backing plate could accommodate one of four bolts for the Garelick offshore bracket. Since removing it would be epic and likely destructive, I decided to work around it. I consulted a dock mate and metalworking master, Tom Kughler. He offered to cut four 1/4-inch thick, aluminum discs, four-inches in diameter with holes drilled in each center. As independent discs, they would mate better to an uneven surface, and exact measurements of the bracket holes were unnecessary for them to fit. By trimming one, it would nestle with the existing plate. I epoxied the discs into place, aligned with the holes in the transom using temporary bolts. When I made the final install, I would add four 1/4-inch thick aluminum discs, two-inch in diameter, acting as large washers progressively spreading the forces for each bolt.
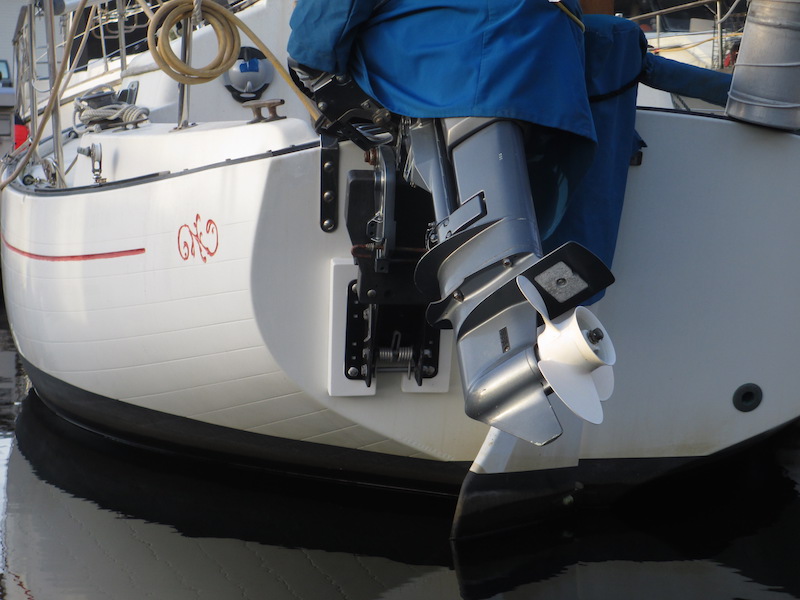
On the outside, I used a pair of 1-1/2-inch thick, four-inch X 12-inch King StarBoard blocks for mounting the bracket. Two holes per block would be easier to match than four on one. These would give sufficient area to spread the forces. I discovered the thickness was necessary to stand the bracket off of the transom. Otherwise, the handle would make contact with the transom when being raised and lowered. I chose King StarBoard because of its weather resistance and “no maintenance” characteristics. The bracket thru-bolts would mechanically fasten the blocks in place, so its low-adhesion quality was not a factor.
I carefully measured and drilled the holes to match those of the transom and bracket. I then beveled the edges, sides, and corners with a sander. With a liberal amount of 3M 4000UV-Resistant Adhesive/Sealant on the King StarBoard surface, bolts, and in the holes, I mounted the bracket. I used four stainless-steel, six-inch carriage bolts. The bracket was designed to receive the self-locking, square sections of carriage bolts. Thus, it was easy to climb inside and add the final washers and nuts and tighten them down without extra hands. I used the halyard again, similar to in dismantling, to hold the bracket in place while I did this. I then cleaned up the excess sealant that was squeezed out around the installation. I let it cure for a few days, tightened up the nuts a bit more and lastly, remounted the motor.
I was able to sell the old bracket, bringing the overall cost of materials under $300. It took me much longer to do the job than if I hired a tradesperson. However, if I had hired the labor, I wouldn’t have the satisfaction of accomplishment and the intimate understanding of the installation and materials. After three years of Pacific Northwest sailing, including a circumnavigation of Vancouver Island, I still feel good about it. It is still strong. The conditions were right for me to take this project on and I’m glad I did. I like the challenge of looking at a problem and creating a solution that fits within the means, to learn new skills and increase knowledge. For people who want to have big adventures on small budgets, The Resourceful Sailor hopes to give ideas on how to make this happen. Remember, keep your solutions prudent, safe, and have a blast.
The Resourceful Sailor is not an authority, but rather, a conversation starter. The Series provides examples about fixes that worked best for the sailor in question, given their boat, resources available, and budget. The intent is to promote problem-solving through sharing so sailors can find the approach that best suits them and their needs.